When an emergency strikes, whether it is a fire, earthquake, severe weather event, or any other crisis that forces you to leave your home or workplace immediately, the difference between a smooth evacuation and a chaotic scramble often comes down to one thing: preparation. An emergency evacuation backpack, sometimes called a go-bag or bug-out bag, is a pre-packed kit containing everything you need to survive and stay safe during the critical first hours and days following an emergency. For high-rise residents in particular, having a well-prepared evacuation backpack is not a luxury or an exercise in paranoia. It is a practical, potentially life-saving measure that every responsible adult should take seriously.
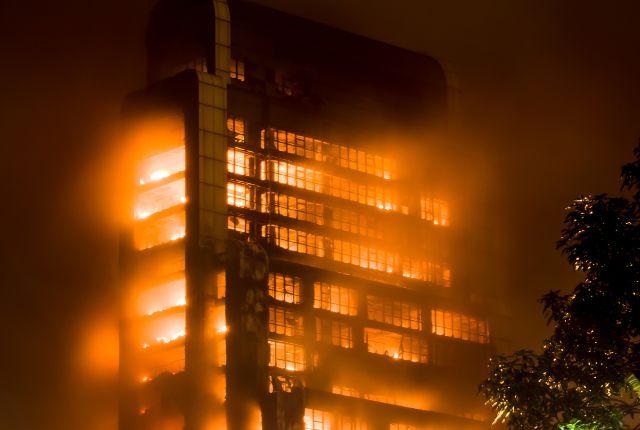
The concept of an emergency backpack has gained increasing mainstream acceptance as natural disasters, urban emergencies, and building fires continue to remind us that crises do not announce themselves in advance. The key to an effective evacuation backpack is thoughtful preparation: selecting the right items, keeping them organized and accessible, and reviewing the contents regularly to ensure everything remains current and functional. Combined with a personal rescue device like the SkySaver rescue backpack, an emergency evacuation kit gives you the tools and confidence to respond decisively when every second counts.
Essential Items Every Evacuation Backpack Should Contain
Building an effective evacuation backpack requires balancing comprehensiveness with portability. You need enough supplies to sustain yourself for at least 72 hours, but the pack must be light enough that you can carry it quickly, even while navigating stairs or climbing down from height. The following categories represent the core elements that emergency preparedness experts consistently recommend.
Documents and Communication
Copies of critical identification documents should be at the top of your packing list. Include photocopies or digital copies stored on a USB drive of your passport, driver’s license, insurance policies, medical records, and any prescription information. In the aftermath of a major emergency, having access to these documents can dramatically simplify the process of securing temporary housing, accessing medical care, and filing insurance claims. A fully charged portable phone charger and a battery-powered or hand-crank emergency radio should also be included, as cellular networks may be overwhelmed or damaged during large-scale emergencies, and a radio may be your only reliable source of official information and instructions.
Water and Nutrition
Water is your most critical supply. Include at least one liter of water per person per day for a minimum of three days, along with water purification tablets or a portable water filter for situations where you need to extend your supply. For food, focus on high-calorie, shelf-stable options that require no cooking: energy bars, dried fruit, nuts, and ready-to-eat meal pouches are all excellent choices. Avoid anything that requires water to prepare, as your water supply should be reserved primarily for drinking. Check expiration dates every six months and rotate items as needed to ensure everything remains fresh and edible.
First Aid and Medical Supplies
A compact first aid kit should include adhesive bandages in multiple sizes, sterile gauze pads, medical tape, antiseptic wipes, antibiotic ointment, pain relievers, and any prescription medications you take regularly. If anyone in your household has specific medical needs such as an inhaler, EpiPen, or insulin, ensure that a backup supply is included in the evacuation backpack. A pair of tweezers, small scissors, and disposable gloves round out the medical supplies. Remember that in a fire evacuation scenario, burn treatment supplies including burn gel and non-adhesive burn dressings can be particularly important.
Protection and Shelter
Include a compact emergency blanket, which takes up almost no space but can prevent hypothermia in cold conditions or serve as a ground cover or improvised shelter. A lightweight rain poncho serves double duty as weather protection and a makeshift tarp. A dust mask or N95 respirator is essential for fire evacuations, where smoke and particulate matter can make breathing dangerous even well away from the fire itself. Work gloves protect your hands when navigating debris or rough surfaces during evacuation. A small flashlight with extra batteries, or better yet a headlamp that keeps your hands free, is invaluable during nighttime evacuations or when navigating dark stairwells. Our 60-second survival checklist for building fires provides additional guidance on what to prioritize when time is extremely limited.
Tools and Miscellaneous
A multi-tool or Swiss Army knife provides cutting, screwing, and prying capabilities in a compact package. A whistle can be heard over much greater distances than the human voice and requires far less energy to use, making it an essential signaling device if you become trapped or need to attract the attention of rescue workers. Cash in small denominations is important because electronic payment systems may be down during emergencies, and ATMs may be inaccessible. Include a waterproof bag or dry sack to protect sensitive items like documents and electronics from water damage. Finally, a permanent marker and a small notepad allow you to leave messages, record important information, or create improvised signs if needed.
Special Considerations for High-Rise Residents
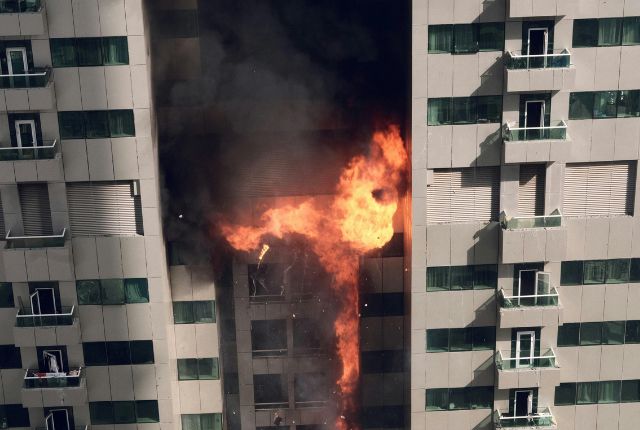
If you live or work in a high-rise building, your evacuation backpack needs some additional considerations beyond a standard emergency kit. The primary challenge in a high-rise evacuation is vertical descent, often through smoke-filled or otherwise compromised stairwells, potentially carrying your pack for dozens of flights of stairs. This reality places a premium on keeping your pack as light as possible while still including everything essential.
High-rise residents should also consider including a smoke hood or escape mask, which provides filtered breathing air for the critical minutes needed to traverse smoke-filled corridors and stairwells. These devices are compact, lightweight, and can provide fifteen to thirty minutes of breathable air, often enough to descend from even the upper floors of a tall building. A compact LED glow stick attached to the outside of your pack helps emergency responders locate you in dark or smoky conditions and can serve as a marker if you need to signal for help.
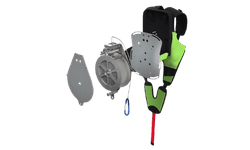
Perhaps most importantly, high-rise residents should consider including a personal descent device in their emergency preparedness plan. The SkySaver rescue device is specifically designed for controlled descent from high-rise buildings when conventional exits are blocked or compromised. Unlike improvised escape methods that are dangerous and unreliable, the SkySaver provides a tested, certified means of reaching ground level safely from any floor. When paired with a well-stocked evacuation backpack, it creates a comprehensive personal emergency system that covers both the immediate escape and the survival period that follows. For a comparison of different escape options, see our article on rope descent devices versus fire escape ladders versus evacuation backpacks.
Maintaining Your Evacuation Backpack
Packing an evacuation backpack is not a one-time task. To remain effective, your kit requires regular maintenance and updates. Set a calendar reminder to review the contents of your backpack at least every six months. During each review, check expiration dates on food, water, medications, and batteries, replacing any items that have expired or are approaching expiration. Test your flashlight, radio, and phone charger to confirm they still function properly. Update your document copies if any information has changed, and adjust clothing or seasonal items based on the current time of year.
Store your evacuation backpack in a location that is easily accessible on your way out of your home or office. The best location is near your primary exit door, where you can grab it without detouring during an emergency. Avoid storing it in a closet that might be difficult to reach in dark or smoky conditions, or in a location that could be blocked by fallen furniture during an earthquake. Every member of your household who is old enough should know where the backpack is stored and understand its purpose.
For families with children, consider creating age-appropriate mini evacuation packs that each child can carry, containing a comfort item, a snack, a small water bottle, and identification information. Teaching children about emergency preparedness from an early age builds habits that will serve them throughout their lives. Our guide on teaching kids to escape a high-rise fire provides practical advice for involving children in family emergency planning without causing unnecessary anxiety.
Beyond the Backpack: Building a Complete Emergency Plan
An evacuation backpack is a critical component of emergency preparedness, but it works best as part of a comprehensive personal emergency plan. This plan should include identified meeting points where family members will gather after an evacuation, communication protocols for reaching each other when phone networks are congested, and familiarity with multiple evacuation routes from your building and neighborhood. Practice your evacuation plan at least twice a year, treating the exercise as seriously as you would a real emergency. The few minutes you invest in preparation today could save your life and the lives of your loved ones when the unthinkable happens.
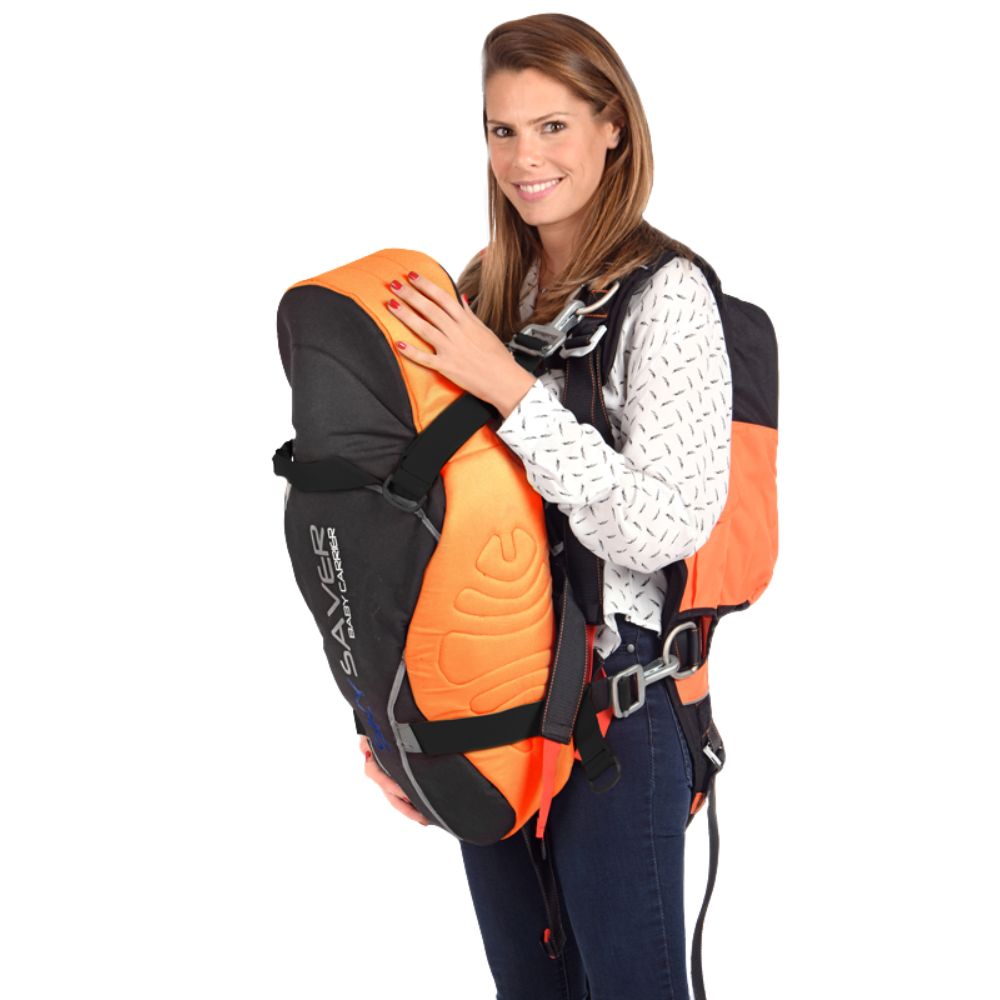
Attachable Baby Harness
Lightweight safety harness for fast and secure infant evacuation in high-rise emergencies.
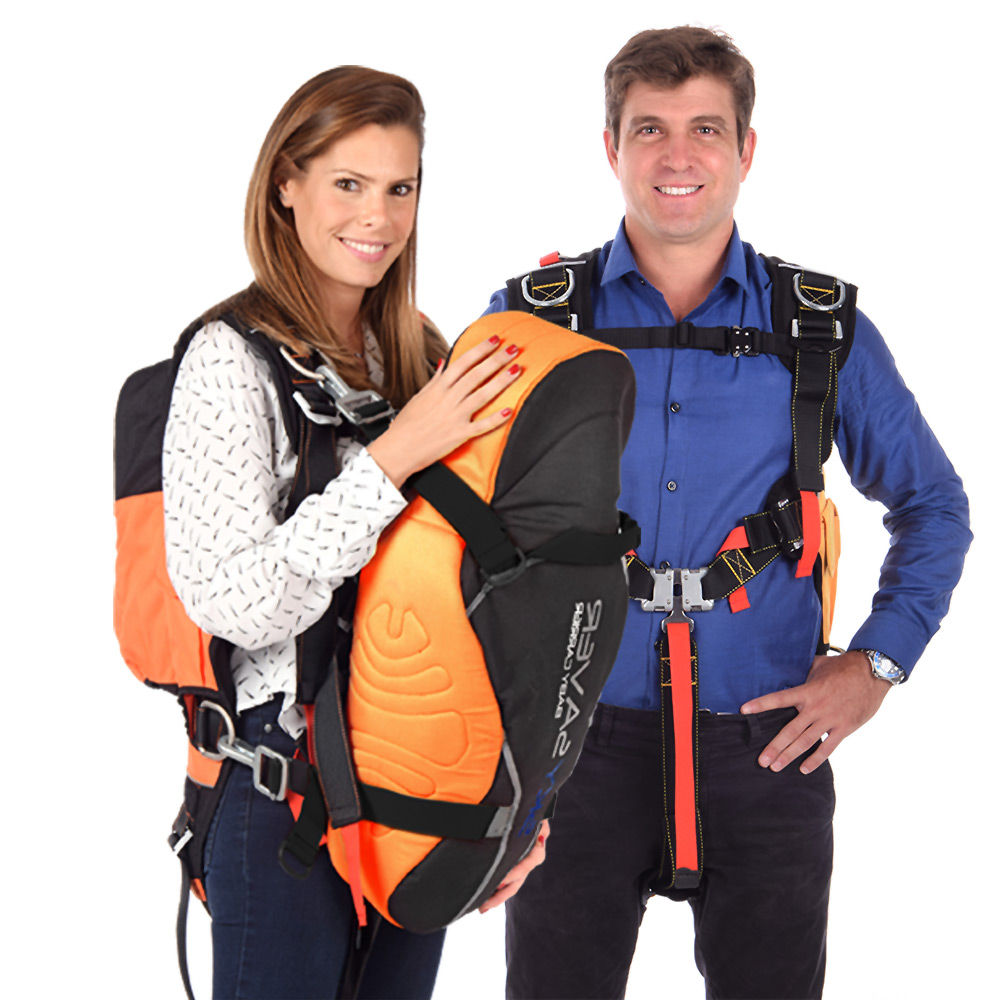
Parent Package
Complete emergency evacuation kit for the parent and dependant. Fast, safe descent from high-rise buildings.
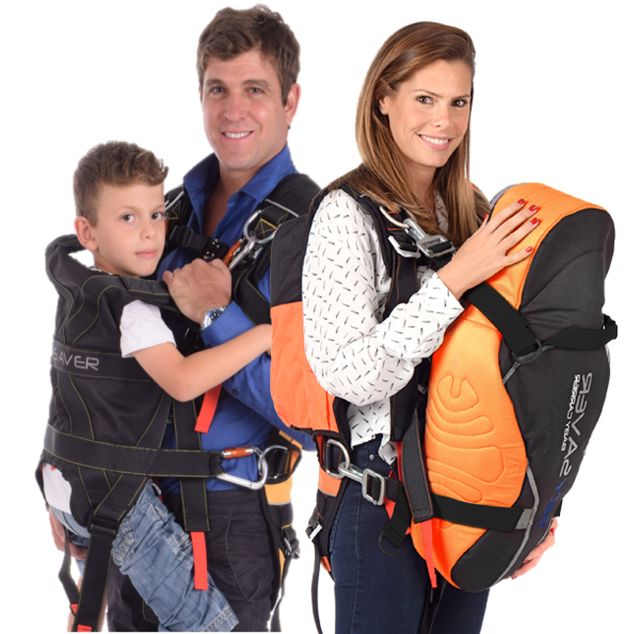
Parent Edition
Complete high-rise evacuation solution for a parent, maximum safety and fast deployment.
Single Self-Rescue Kit
Complete emergency evacuation kit for high-rise fast, safe descent during critical emergencies.

Attachable Child Harness
Lightweight child safety harness designed for secure, controlled evacuation from high-rise buildings.

Attachable Pet Harnesses
Secure, lightweight safety harness designed for fast and controlled pet evacuation from high-rise buildings.
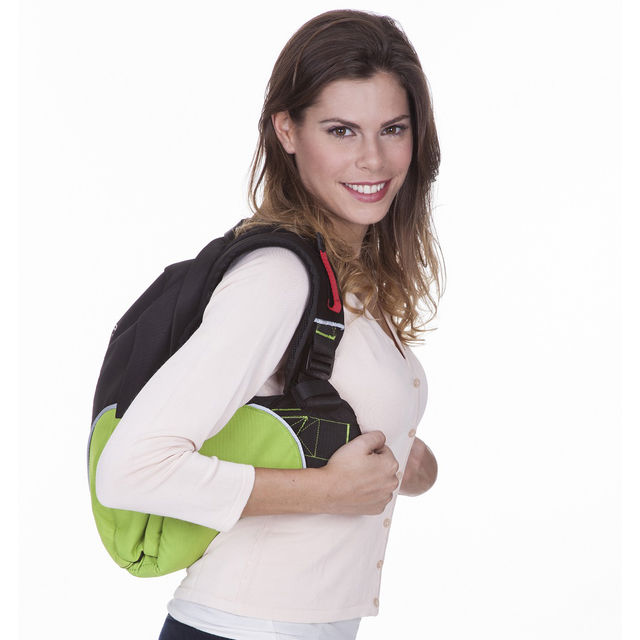
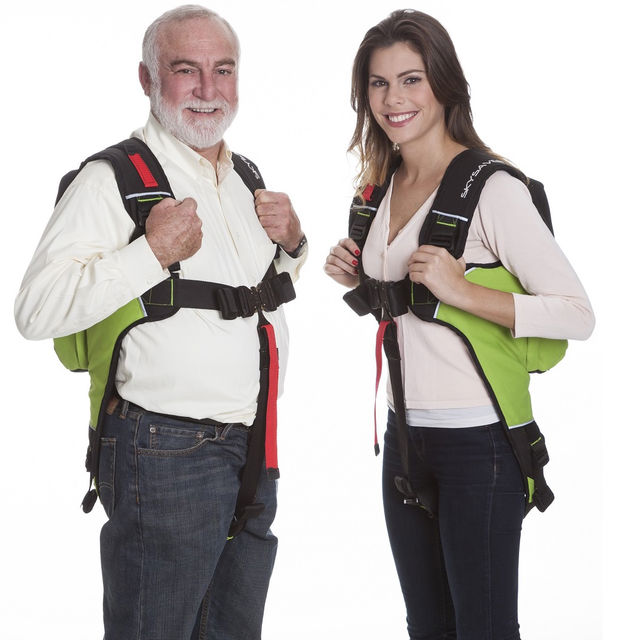
single Self-Rescue Harnesseses
Professional external safety harness for secure personal evacuation from high-rise buildings.

Controlled Descent Device (CDD)
External CDD unit for safe, controlled descent during high-rise emergency evacuation.